
Set Up ‘About:Blank’ in Chrome for Faster Browsing
Explore the simplicity of setting up "about:blank" as your Chrome homepage for a faster, more private browsing start, and learn how to customize your ...


What Is an AV Cable? Things You Should Know
An audio visual cable, also known as an AV cable, is an essential element of modern home entertainment systems. Without them, televisions and ...


Explore the simplicity of setting up "about:blank" as your Chrome homepage for a faster, more private browsing start, and learn how to customize your browser's ...
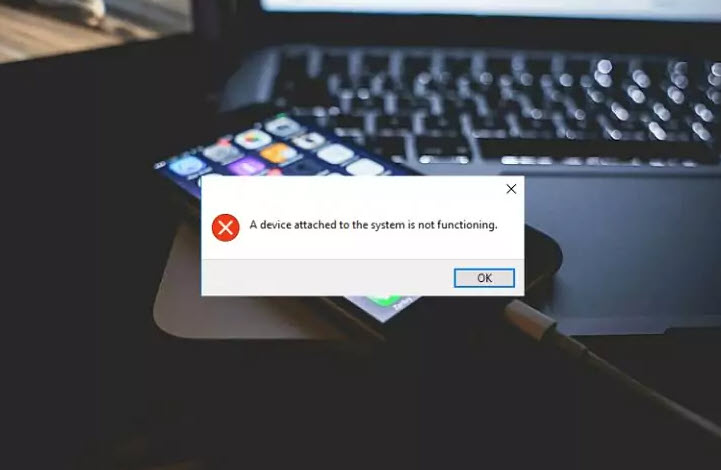
Explore effective troubleshooting methods for when a device fails to work with your system, including checking connections, updating drivers, and using ...

We've all been there—scrolling through our Instagram feed, ready to catch up on the latest from friends and favorite influencers when suddenly, we're stopped ...

Looking to revamp your Android TV experience? We've got just the ticket. Android TV launchers are the gateway to a customized, streamlined viewing experience, ...

Discover how to install an Xbox 360 emulator on your Mac with our step-by-step guide. Learn to download securely, handle game files legally, and optimize ...

Discover the top iPhone radio apps for music, news, and audiophiles. Learn how to choose based on interface, streaming quality, and features like offline ...
Discover how to keep your Excel sheets clean by preventing unwanted apostrophes. Learn to use data validation, standardize input formats, and import data ...

Explore the ethical technique of backdating emails in Outlook with our comprehensive guide, featuring step-by-step instructions to adjust timestamps while ...

Discover a seamless way to set Microsoft Excel as your default spreadsheet software on Mac with our easy guide. Boost your productivity with Excel's advanced ...
Discover the thrill of digital hunting with our roundup of the best iPhone hunting games. Dive into engaging play and stunning graphics with top picks like ...
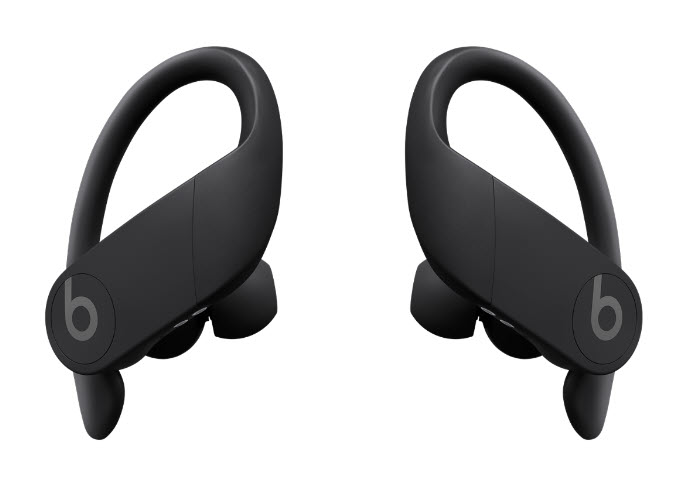
Do you want to know how to pair your Powerbeats Pro to your laptop? Here is a simple guide that discusses the steps and additional measures you can take. ...
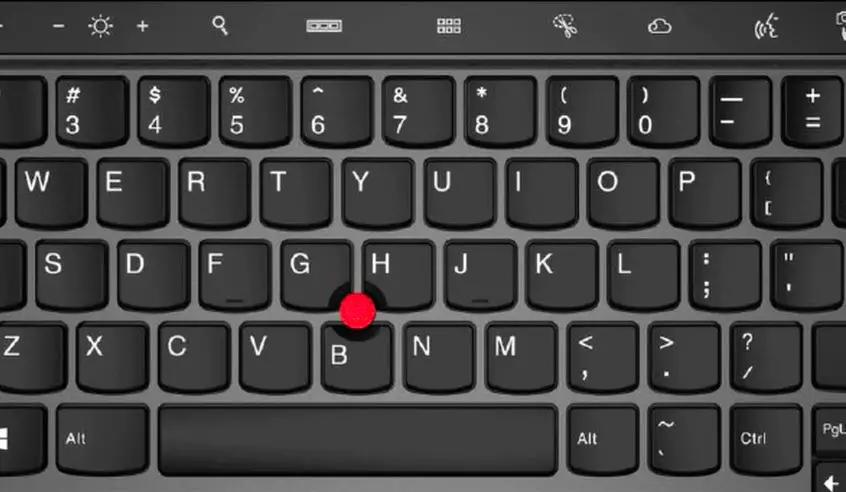
To troubleshoot being locked out of your Lenovo laptop keyboard, this section provides an introduction to tackle the problem. We will dive into a detailed ...